
Don’t Starve Together Dedicated Server Tutorial
A Don’t Starve Together dedicated server is a powerful way to start playing the popular survival game. It comes with extensive documentation on how to set up the server, add an admin, and install custom mods. This tutorial will walk you through the process step by step. In addition to a detailed tutorial on the setup of your dedicated server, you will also find a wealth of useful resources on the topic.
Configuring a Don’t Starve Together dedicated server
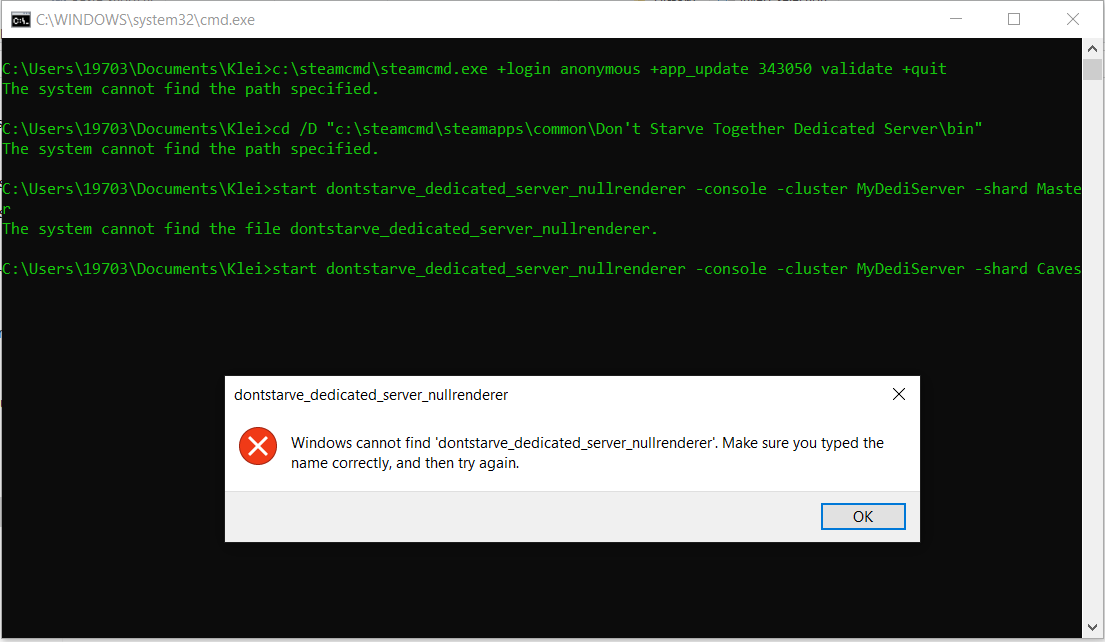
You might be experiencing trouble connecting to your game server due to a recent outage. To remedy this, you can set up a Don’t Starve Together dedicated server. You can either install the program from Steam or rent one from a game server provider. If you’d rather host your own server, you can follow these simple steps to configure one. Once the software is downloaded, you can run it with the -console and -conf_dir command lines.
You must first enable the DoNotStarveTogether server. You can enable it through the right-click menu. In case your server is not listed in the servers list, you can enable it from GSA’s settings. Additionally, you can host multiple servers on one machine. Nevertheless, you must set up multiple configurations if you want to install more than one. For this, you must install the MyDedi client on your server. In addition, you should specify the location where you create the slot world.
Adding an admin
If you don’t want to deal with the hassle of hiring a dedicated server administrator, you can add a third-party account instead. These accounts are also known as dedicated admins and are great for occasional support. Adding an admin to your dedicated server is a quick and easy process. Once you’ve installed the server software, you can proceed with the steps below. The first step is to connect to the server via its game console. Next, click on the Options menu and select “Console Enabled.” You should see a message saying “Adminauth”.
Adding an admin to a dedicated server allows users to have administrative privileges. They have full access to the server and can use the full range of commands. However, they cannot use the sudo/root commands. Therefore, they need to add an admin account. An admin user must agree to the terms and conditions in order to have administrator privileges. In some cases, this user should have administrative privileges. This process is simple.
Creating a cluster token
To create a cluster token on a dedicated server, you must have access to both the QueryGrid Manager and Teradata QueryGrid. To create a cluster token, run the cluster command. You should also add a user role called cluster-admin to it. Dedicated-admin users have fewer privileges than cluster-admin users, so they can only be added by the user who created the cluster.
When you are creating a cluster token, you must first specify the name of the admin node. If you want to use a service name to identify your nodes in the UI, you can add the name of the service. You can also add the publicAddress of the cluster in the /etc/hosts file. Then, use your existing SSH credentials to login to the existing Teradata QueryGrid Manager TMS.
Connecting to a dedicated server
You’ve probably heard of dedicated IP servers, but how do you connect to one? Here’s a basic tutorial to help you get started. You’ll need your dedicated IP address and a server. Most servers use port 7777, but you can change it if you want. Once you’ve configured your IP address and server, you’ll need to set a password to connect to your server.
You will also need a server that has an adequate amount of memory. Dedicated servers usually have enough RAM and space to accommodate large applications. The hardware can vary widely, as you’ll need to determine what kind of processor you need. Some processors have large caches, so celerons don’t perform well with large applications. Pentium 4s and Xeons are more powerful. AMD Opterons are also known to outperform Dual Xeons.


